- Create Wiki Page
- All Pages

Minecraft is a game of infinite creation, but what if you wanted a bit more freedom than infinity? What if you wanted to import whatever image you wanted into your Minecraft world? Well, that's easy. Time to draw something up and put it into Minecraft.
In a Nutshell:
To draw in Minecraft, you need to choose the drawing to import first. Then you have to go to the Resourcepacks folder. Then within the folder, you will have to create yet another folder, paste some code. Then find a reference painting, place your image in the painting using photoshop, follow few more specifics and you get your painting in Minecraft.
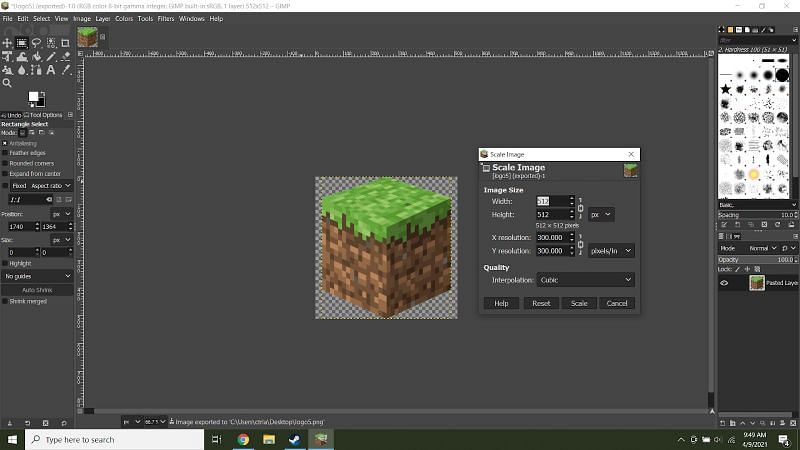

The first step is to actually choose the drawing to import. This can be any image file you want, but you need to make sure it's prepared to work with Minecraft. Make the image size 16x16, 32x32, 64x64, 128x128, 256x256, 512x512 or even 1024x1024 depending on the size of your image. These image sizes are what Minecraft is capable of understanding and any other image size won't work.
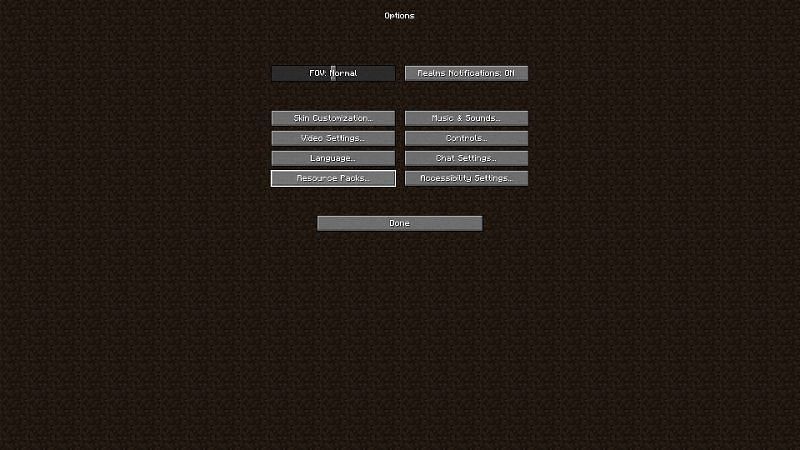
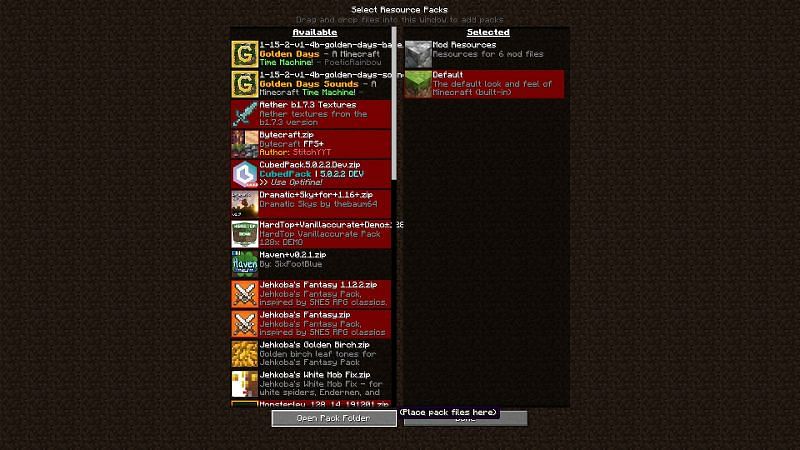
The next step is going to your Resourcepacks folder. This can be reached by pressing the Resourcepacks option in-game and then pressing the Open Resourcepacks Folder button.
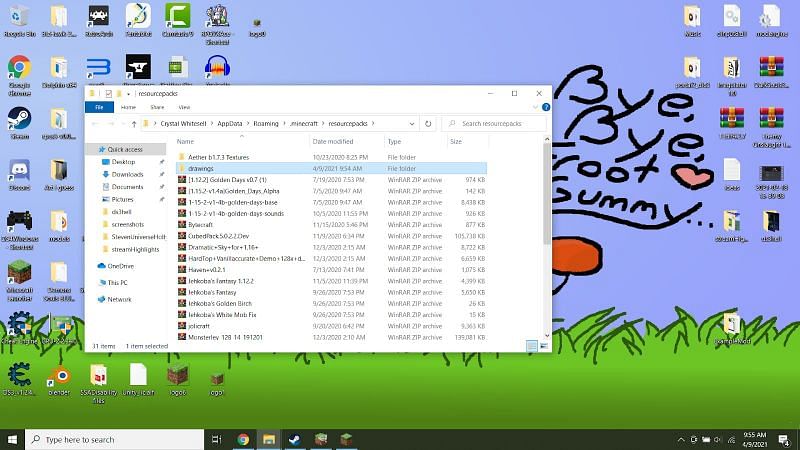
In this folder create a new folder with whatever filename you like. This folder will be your Resource pack which contains your custom drawing. In this folder, you will need to add a few files.
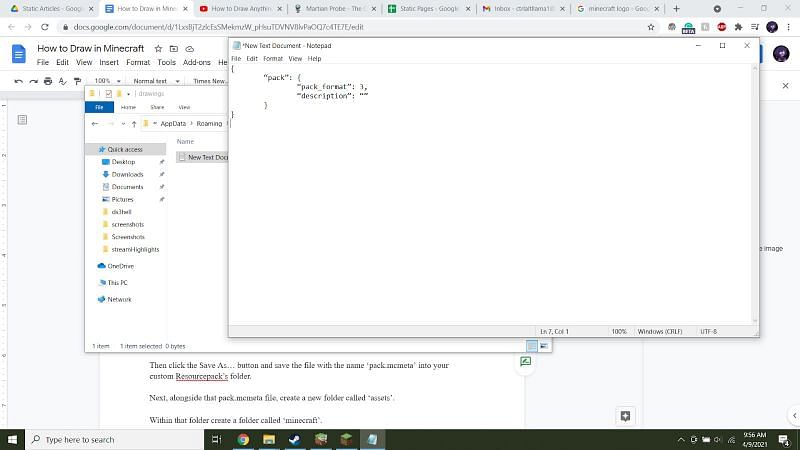
Make a new text file and paste in this code:
{
"pack": {
"pack_format": 3,
"description": "drawings"
}
}
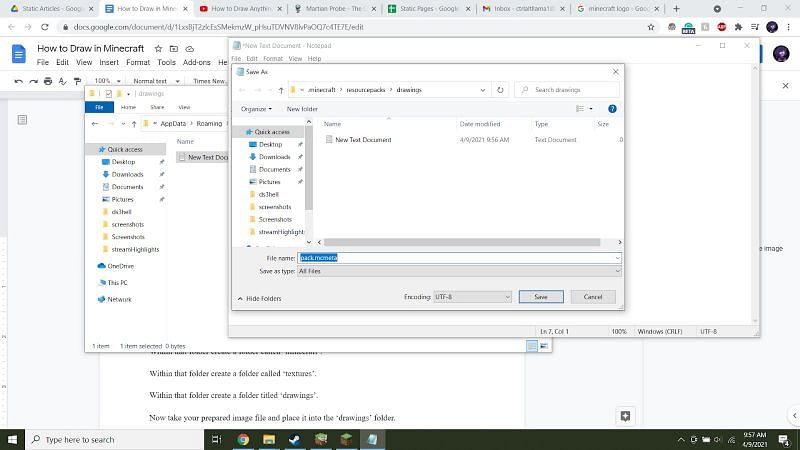
Then click the Save As… button and save the file with the name ‘pack.mcmeta’ into your custom Resourcepack’s folder.

Next, alongside that pack.mcmeta file, create a new folder called ‘assets’.
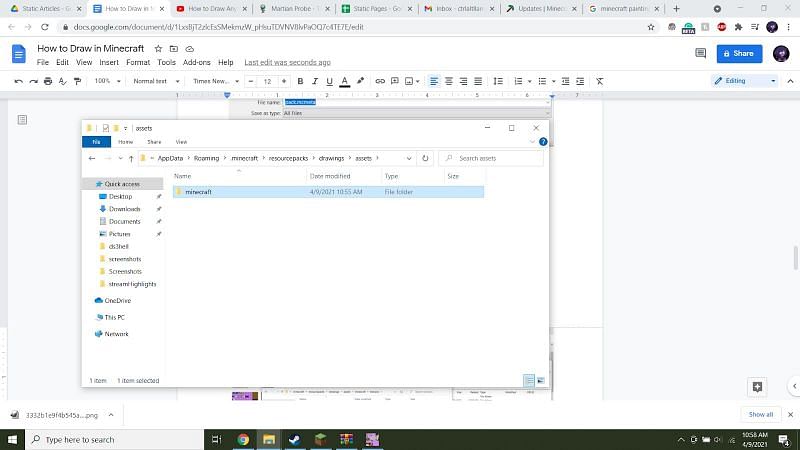
Within that folder create a folder called ‘Minecraft’.
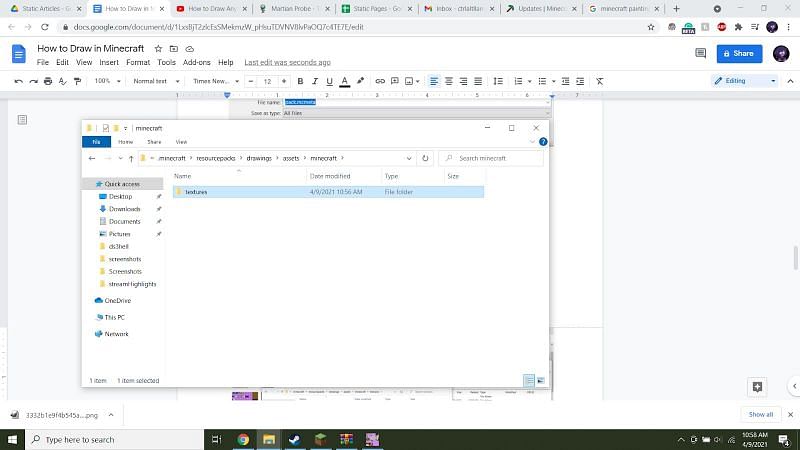
Within that folder create a folder called ‘textures’.

Within that folder create a folder titled ‘painting’.
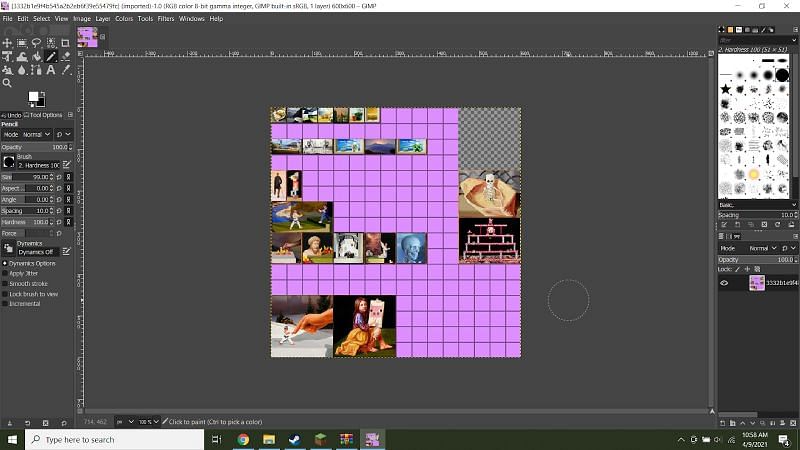
Next, you need to place it over a painting in Minecraft so find a reference image for Minecraft’s paintings. Make sure it is scaled to be 4096x4096.
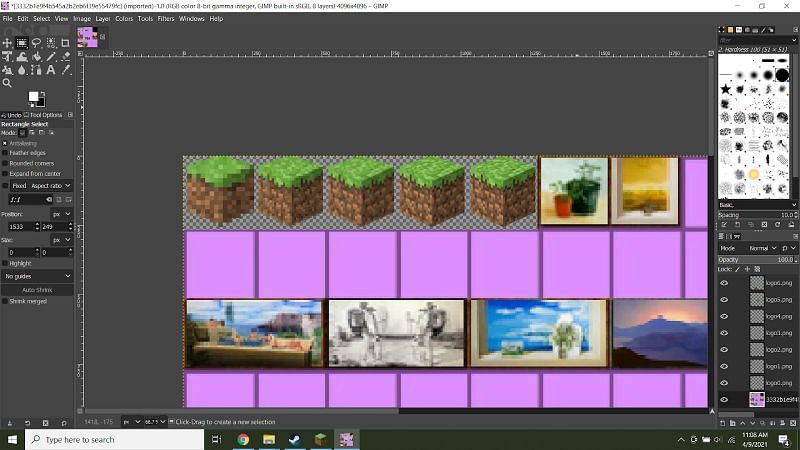
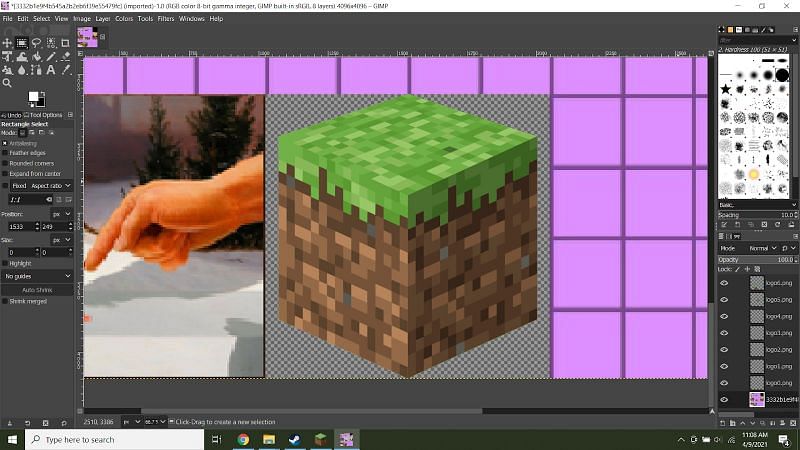
Now edit the image like this to place in your custom drawings that you prepared earlier. For the drawings that are smaller than 256x256, scale them to be large enough to fill one small painting.
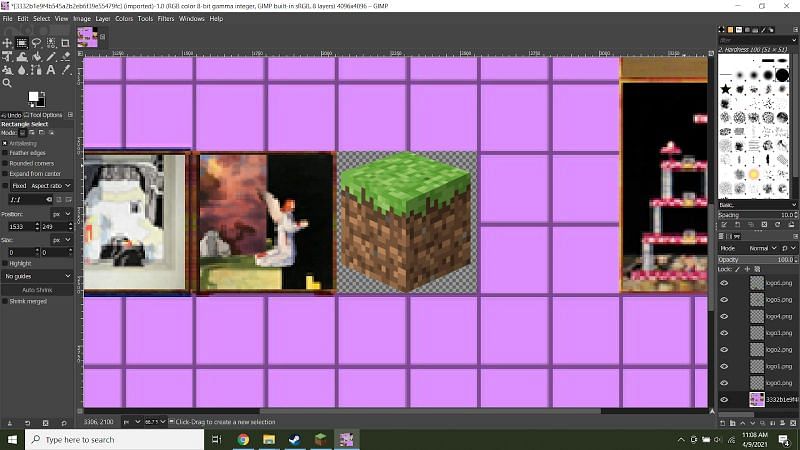
For images larger than 256x256, use the larger painting options. With this method, you can make paintings up to 1024x1024 in size!
Now save the image to your ‘painting’ folder and call it ‘paintings_kristoffer_zetterstrand’.
This part is as simple as placing a painting. It’ll take a few tries to get the ones you want but once you do, they’ll look perfect!
A. Yes but you will have to scale your ‘paintings_kristoffer_zetterstrand’ image to be incredibly large. It reaches half a gigabyte when the small paintings are larger than 256x256 so it's not recommended. But if you have enough memory, you can make as big a painting as you want.
Inserting your own drawings into Minecraft might seem intimidating but once you get the hang of the files and filenames, you’ll be making custom paintings in no time. This can even lead you into custom Resourcepacks as this is exactly how all your favorite Resourcepacks are made, even Minecraft’s default one.


