- Create Wiki Page
- All Pages


Minecraft, with its vast randomly generated worlds, offers an incredible single-player experience. However, the real magic happens when players from all over the world come together in a multiplayer environment. Hosting your Minecraft server can provide a unique and customizable gaming experience for you and your friends. In this article, we will guide you through the process of setting up and launching your Minecraft server, complete with subheadings for easy navigation.
Before we delve into the technical details, let's explore the reasons why hosting your Minecraft server can be a rewarding experience. By creating your server, you gain full control of the in-game world and the back end, allowing you to use admin commands, test player-made modifications, and alter gameplay in various ways. Additionally, hosting your server with a small group of friends eliminates the need for third-party hosting services and provides a secure space for your gaming sessions.
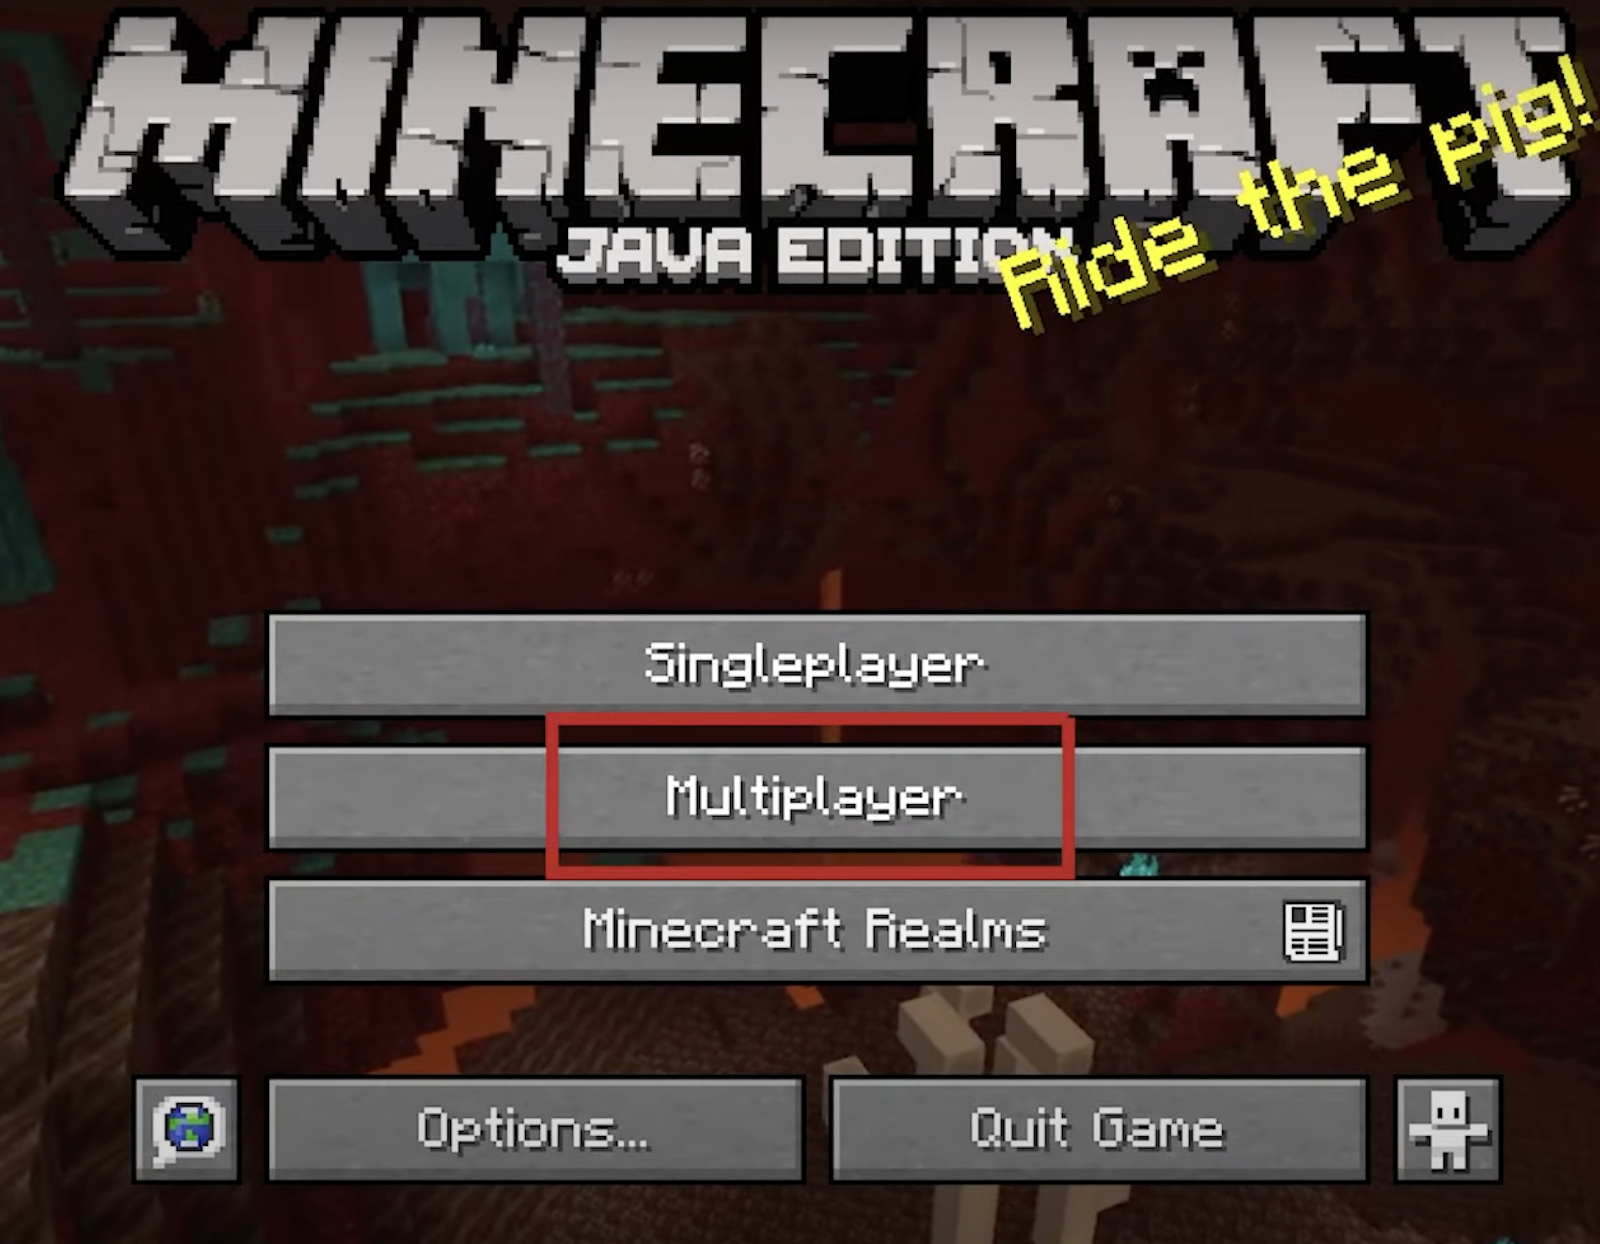
In this section, we will walk you through the process of setting up a basic Minecraft server using the server software provided by Mojang. Follow these steps to create your server and start your multiplayer adventures:
Download the Minecraft launcher from the official website.
Run MinecraftInstaller.exe (or Minecraft.dmg on MacOS) to install the launcher.
Log into a Microsoft account that has purchased Minecraft.
Launch the Minecraft Launcher and ensure that you're playing the latest release of Minecraft: Java Edition.
Check the installed Java version using the following commands:
For Windows: Open a command prompt and type "Java -version."
For MacOS: Open Terminal, type "Java -version," and press enter.
If the installed Java version is not 19.X.X or higher, download the correct version from the Java Development Kit website.
Download the official server file from the Minecraft website, ensuring it matches your installed Minecraft version (e.g., 1.19.2).
Save the server.jar file to an easily accessible location, such as the Downloads folder.
Create a new folder (e.g., Minecraft Server) to store all the necessary files, including the Minecraft world.
Move the server.jar file into the Minecraft Server folder.
Open a Command Prompt (Windows) or Terminal (MacOS).
Use the change directory command (cd) to navigate to your Minecraft Server folder.
Run the command "java -jar server.jar --nogui" to initialize the server. Accept the End User License Agreement when prompted.
Stop the server using the /stop command in the prompt.
Open the eula.txt file located in the Minecraft Server folder and change "eula=false" to "eula=true." Save and close the file.
Launch the server again with the command "java -jar server.jar."
The server will fully initialize this time and may prompt you to allow access through your firewall.
A graphical user interface (GUI) window will open, indicating that the server is up and running.
To avoid manually starting the server each time, create an automatic command file.
For Windows, create a batch file (start.bat) containing the command "java -Xms1G -Xmx1G -jar server.jar."
For MacOS, create a shell script file (start.sh) with the following command:
#!/bin/sh
cd "$(dirname "$0")"
exec java -Xms1G -Xmx1G -jar server.jar
To make your server accessible to other players, you'll need to perform port forwarding. This process allows players outside your network to connect to your server. However, remember that port forwarding may pose security risks, so exercise caution.
Setting up and hosting your Minecraft server is a rewarding experience that allows you to create a unique multiplayer gaming environment for you and your friends. By following the step-by-step guide provided in this article, you can easily create a basic server and start your Minecraft multiplayer adventures. Remember to consider the security implications of port forwarding and explore third-party hosting options for a wider public audience. Now, enjoy countless hours of playtime in your custom Minecraft world.


